


Teeth Whitening ... That Works! *GIVeaway*
- Sydney Hope
- Apr 25, 2020
- 4 min read

Hi everyone! This blog post is partnered with Smile Brilliant, and I cannot wait to share with you what I have discovered working with this company! Over the years, I have tried so many different teeth whitening strategies from over the counter, dentist recommendations and online fads. Nothing that I have used has honestly lasted long enough to want to use it again. I was never able to see TRUE results from my past experiences, so I eventually stopped trying.
This is why I want to share a product with you all that ACTUALLY WORKS. I am going to give you the breakdown of Smile Brilliant, and my review of their teeth whitening system!
Also, scroll all the way down to enter this GIVEAWAY to win a free Smile Brilliant custom set!
Step 1: Ordering a Custom Smile Brilliant Product Online
I was asked a frequency of questions to determine statistics about my teeth in order to figure out what product would be the best for me and my teeth. Questions regarding how sensitive my teeth are, how many stains I have, and if I am a coffee drinker (YES!!). The whole process is quite simple and only takes minutes to complete.
Before: Front View

Before: Side View

{After Photos To Come}
You can see that my teeth are quite dull and I have some yellow stains from coffee drinking.
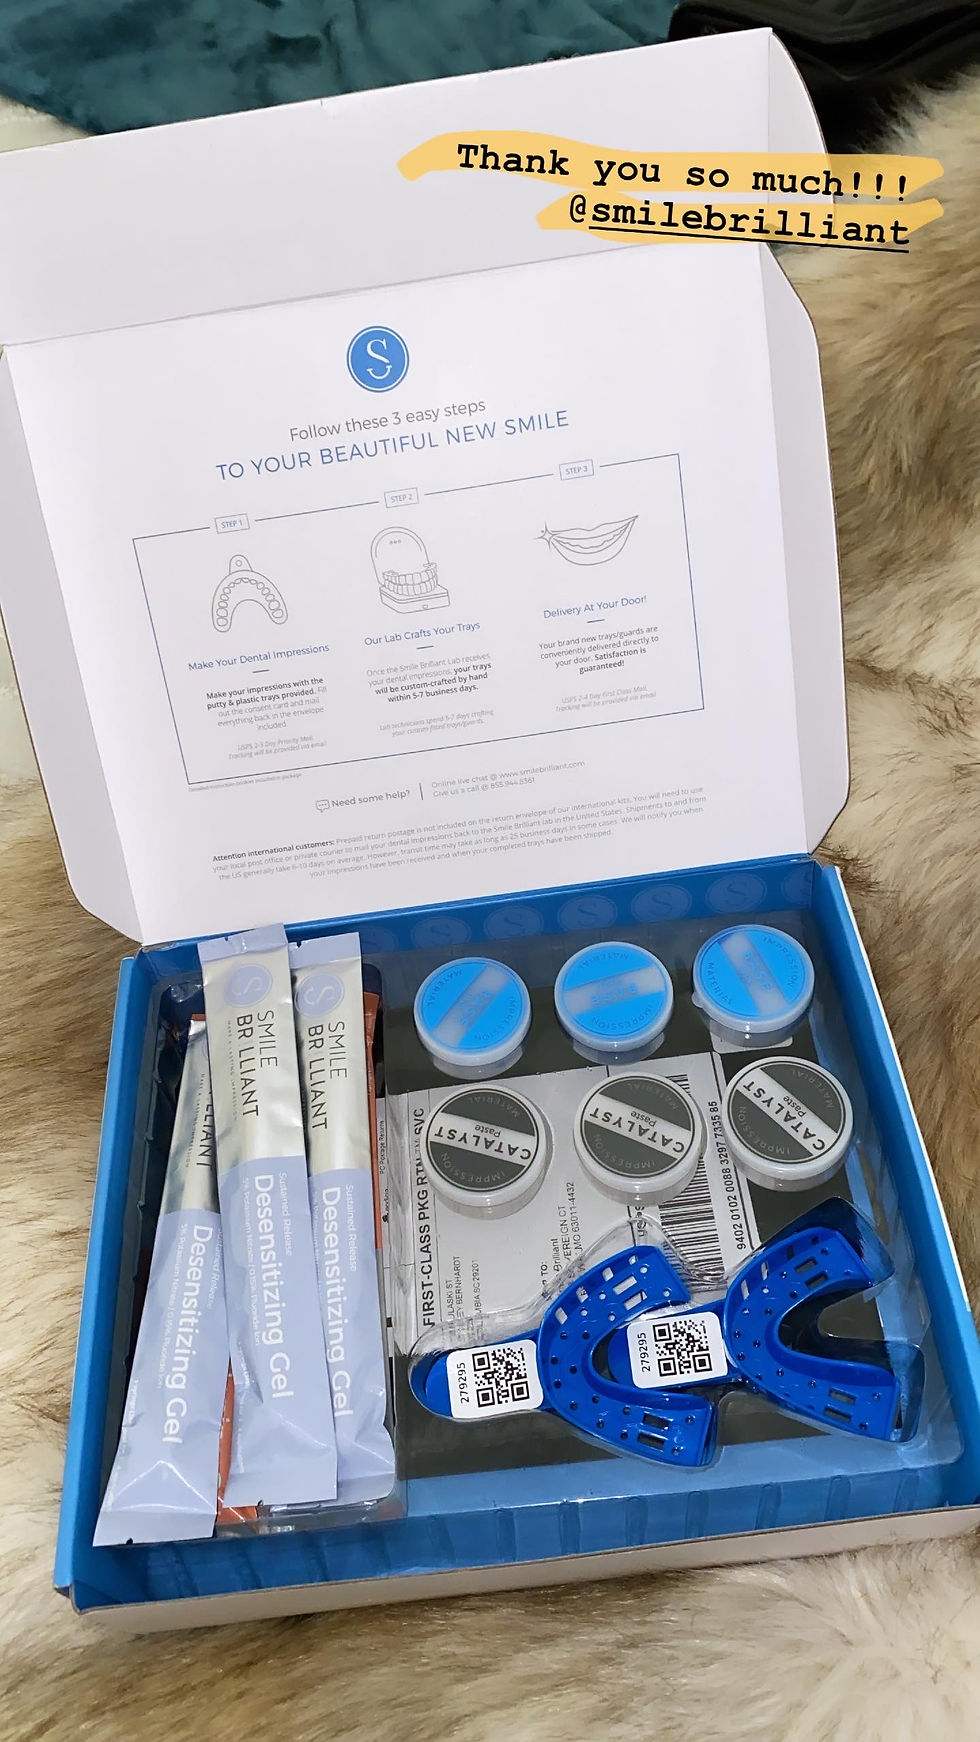
Step 2: Get Your Own Custom Smile Brilliant Box!
After ordering my custom mold, it came within the next few days (fast shipping is always a plus ... I get impatient)! Within my package, I received my custom fit tray, an envelope/postage to mail my trays back in, and my whitening syringes. Do not worry ... everything is labeled clearly and is easy to understand! Overall, the custom trays were a hit!

Step 3: Make Your Dental Impressions
This part is definitely intricate, but it is worth it! Luckily, Smile Brilliant includes an extra set of material in case you mess up the first time. After making a mistake once, I was able to figure out how to make my impressions and they turned out well. TRUST ME, if I can do this, so can you! Smile Brilliant makes it easy by providing step-by-step picture instructions in order to help you make the best mold possible for your teeth.
Step 4: Mail Your Impressions Back
Once you take your impressions, you send them back! This is free, because Smile Brilliant includes an envelope with a PRE-PAID postage on it.
All you have to do is package your impressions back into the package, seal them, and send it in the mail. Super easy. I must say, they are very quick and efficient with sending your products and sending them back to you!


Step 5: Getting Started! The Whitening Process
Smile Brilliant recommends that you use their product at night before bed. This is best, because you should not eat or drink after using the whitening serum - it makes it more effective. The whitening process consists of two different parts.

Part 1 - You start off by whitening your teeth with the whitening gel that is included inside your kit. I did this for about 45 minutes to an hour each time.
Part 2 - From there, you brush your teeth with your toothpaste and use the desensitizing gel. I left this on for 15-20 minutes after whitening.
Smile Brilliant recommends you to start off your whitening sessions with 45 minutes. After time, they suggest you build up your whitening sessions up to 3 hours. This is spaced out every other day.
Step 6: My Results


{After}
Looking at the before pictures I took and the after pictures, I can truly see a difference! My teeth were a lot more dull before the whitening process, and now they really pop when I smile. Of course I still drank coffee everyday, so I know that affected my results; however, I am really happy with this company and I will definitely use them again in the future to maintain my results!
My HONEST Opinion


My overall experience was honestly really nice! I have always found teeth whitening to be such a long and annoying process. I wanted something easy and something that actually WORKED. For me, this was the product that did it.
Downside? The only problem I had was keeping a consistent schedule of whitening my teeth on nights where I was busy. I tried to whiten my teeth after eating dinner, so I could have longer whitening sessions, but on late nights, it definitely was harder to make time! You could always whiten your teeth in the morning, and wait to eat until later, but for me, night time was easiest.
Common FAQS
Giveaway Details Here!!!
Sensitive Giveaway Link Here
Disclaimer:
- Even if you do not win the giveaway, you will receive a discount just from entering!
- giveaway is open for two weeks
- eligible countries: US, UK, Australia & Canada
Discount Code
15% of any tray set: sydneyhopesblog15
#teethwhitening #whitening #healthy #teeth #smilebrilliant #collegeblogger #cltblogger #college #collegestudent #instamood #instagram #smile #white #scblogger #bloggergirl #newblogger #mondays

Instagram: @sydneyhopeee


Comments